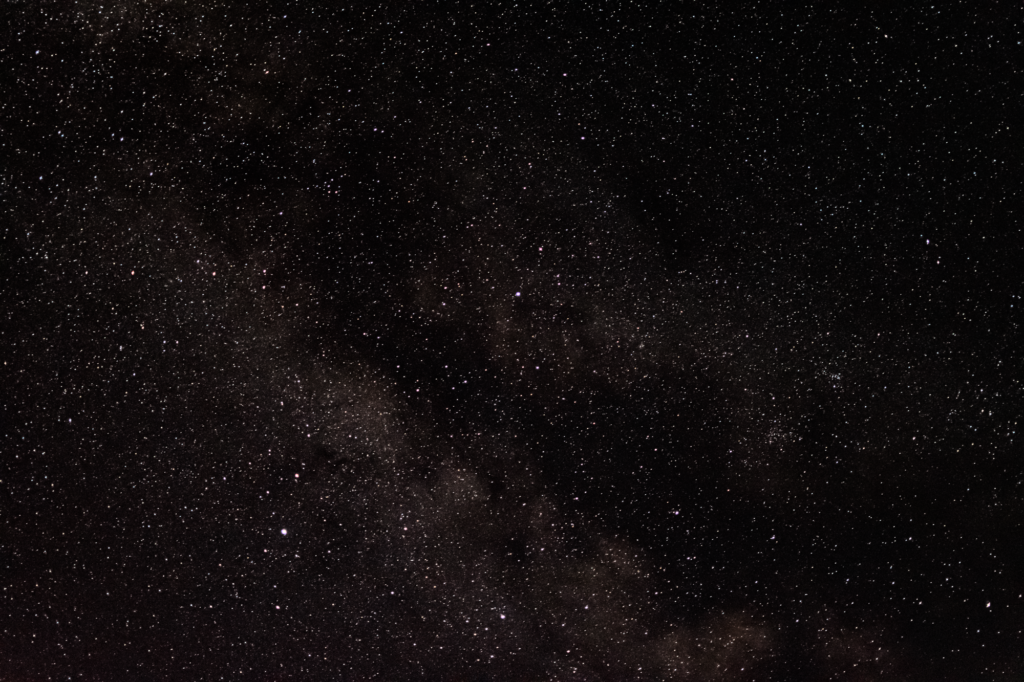
To photograph the stars you do not necessarily need special equipment, very often you just need lenses and cameras even modest and some tricks that I will try to explain.

Recommended gears:
- Reflex aps-c or full-frame
- Tripod (sturdy)
- Shot lens (18mm, 35mm) preferibly with big aperture, below f/4
- Remoto trigger, in order to avoid unwanted vibrations and shacking the camera while shooting
Optional gears (I won’t discuss it here)
- OPTIONAL – filter to lower the light pollution
- OPTIONAL – Night sky tracker
Camera settings:
- Manual focus (MF) focusing on a single star (ok… I will write an article about it)
- Use a sturdy tripod
- Turn off the Image stabilisation (always turn it off then using a tripod)
- Shoot in selt-timer mode, or using a remote trigger or a digital time remote
- Turn off the noise reduction for long exposure, very important if you are planning to use stacking software like Deep Sky Stacker o Sequator
- Use the maximum aperture. It’s best to use lens very fast preferibly below f/4.
Usually I shoot with a Nikkor 35mm f/1.8 or with Sigma 105mm f/2.8, sometime even with a Tamron 16-300mm at 16mm f/3.5 - User the shortest focal lenght: wide-angle lenses or short lens to portrait night landscape, take picture of the Milky Way or some constellations. With lens like 105mm you can take excellent picture of Orion nebula
- ISO 800: if you have a camera with a high sensitive sensor like Nikon D850, you can also go higher with your ISO to 3200 or even 6400, while if you ave an entry level asp-c, you better stay around ISO 800/1800 in order to avoid to get too much noise.
- Use long exposure time, but try to avoid the startrail (unless you really want that effect)
The Earth spin very quickly and if you use too long exposure time, you might get the startrail effect, rather then a nice spot on focus. We can use shorter or longer exposure time based on the focal lenght we are using.
The exposure time can be calcolated using the 500 rule or
with the more accurate NPF rule.
500 rule
Frédéric Michaud de La Société Astronòmique du Havre created a new system that take into account other parameter as well in order to get a more accurate value.
The formula is quite complicated, but you can easily calucalte online at the following address
NPF rule online calulator
For instance, taking picture with my Nikon D5600, while using a 35mm lens with f/1.8 I can use an exposure time of 9 secondi by using the 500 rule, while if I choose to use the NPF rule I have to shoot using 6,50 seconds.
In order to avoid to access online calulator, there is an excellent App for your smartphone which has those calculators and many other interesting feature, such as the planner, the moon phases, and really a lot of useful tools.
I strongly advise to use it you can donwload it for Android or iOS
If liked this article you might want to check what else I published
to help me maintain this website and produce better pictures and contents, click here
Should you be interested in a particular topic, please tell me

